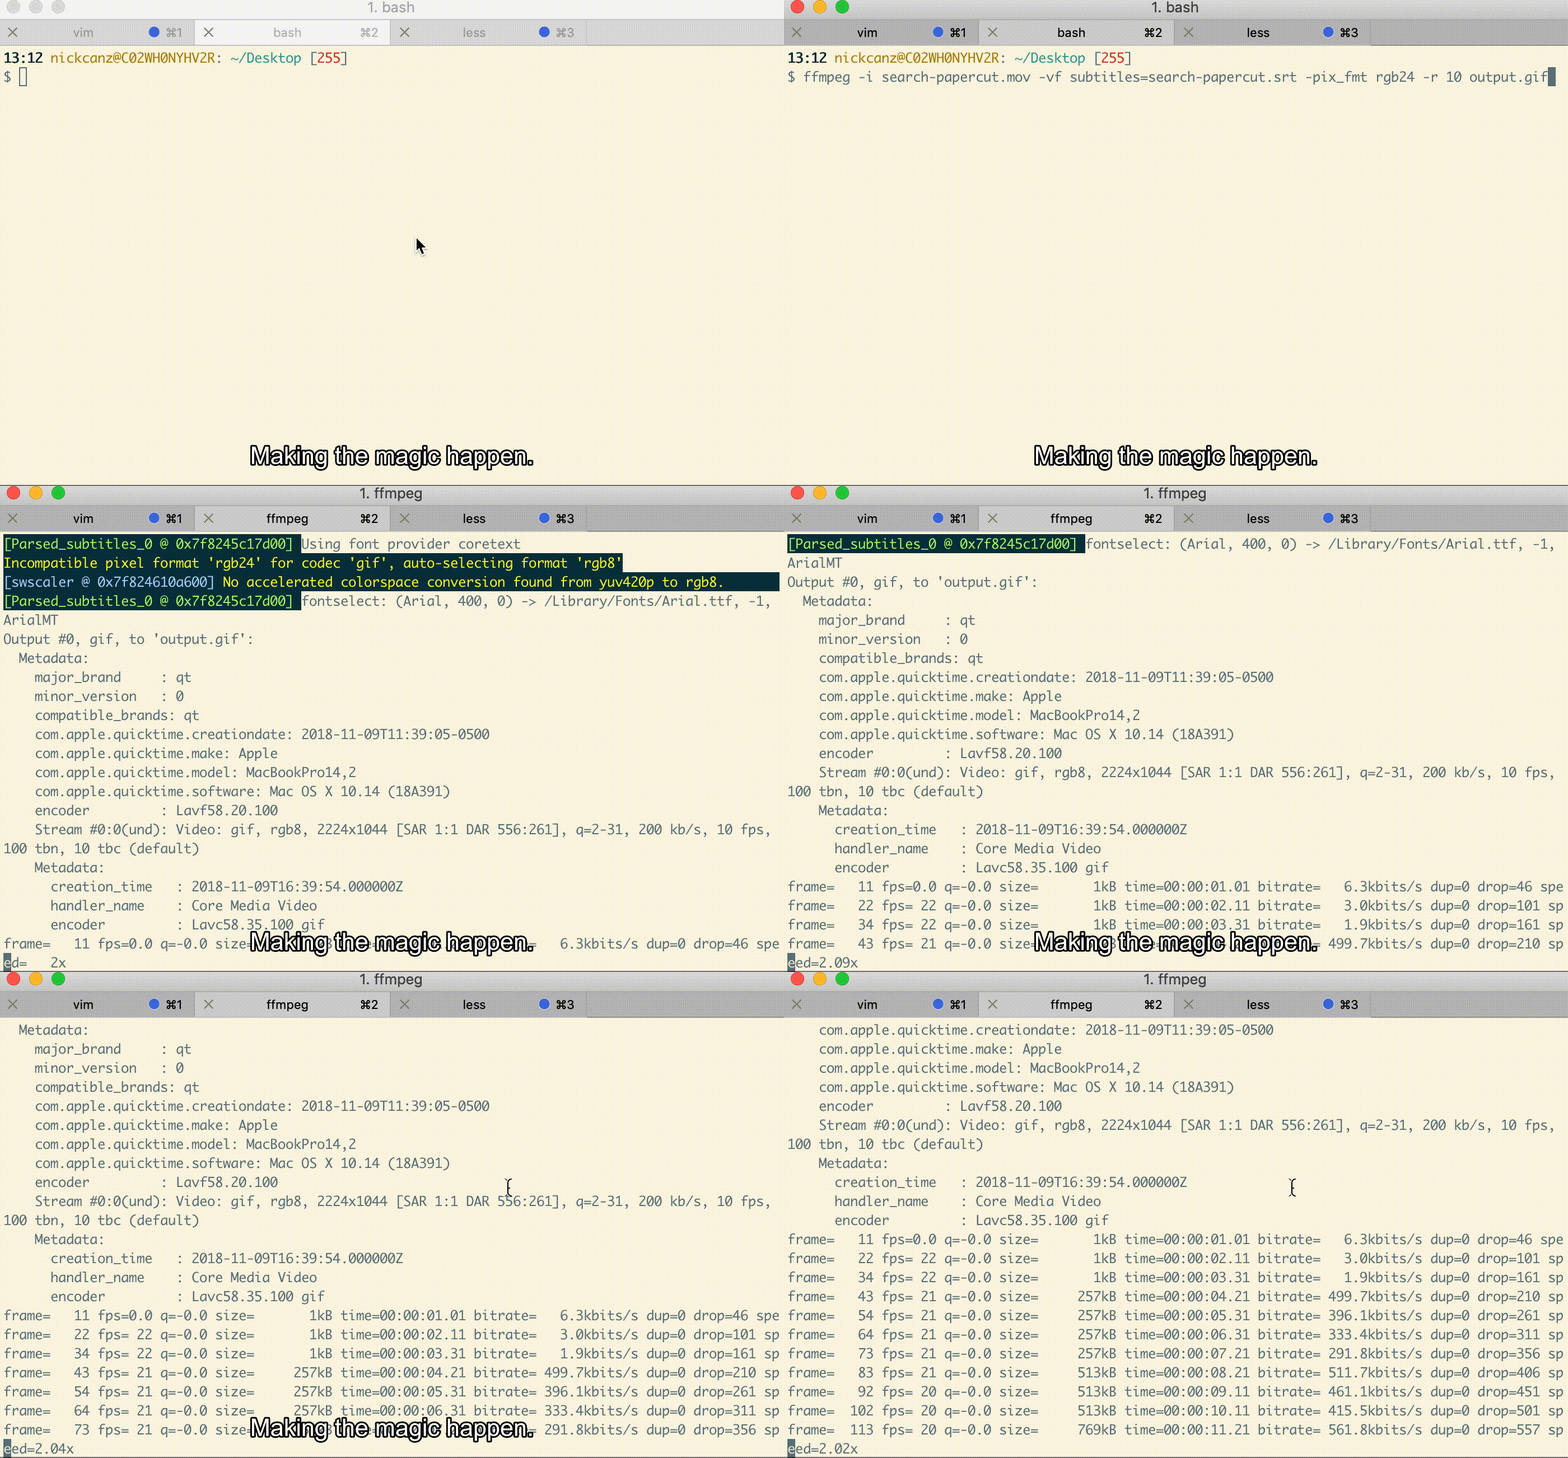
Captioned gifs with ffmpeg

I had a case where I wanted to make a bug report of some weird UI behavior. Making a recording of this behavior is the best way to show it! But, movie files are large and where would I upload it? Making it a gif would let me attach it easily to an issue but then I would lose the context of any sound.
The best solution would be to make a captioned gif! And we can do it easily with ffmpeg.
ffmpeg - the hardest working utility in show business
ffmpeg is an incredible tool for working with video. I’ve mostly used it to resize video and to convert between formats, but I know that’s scratching the surface of what it can do. I have zero background knowledge in the complex world of video formats and ffmpeg is a lifesaver. Plus, it’s cross-platform and open source!
Installing ffmpeg
Since we want to work with captions, we want to make sure we install ffmpeg with support for libass a library for the Advanced Substation Alpha format of subtitling. On OSX, the full command for the homebrew install that I used was:
brew install ffmpegSRT files - how to specify captions
The SRT file format is a very simple way to define subtitles. As described on https://matroska.org/
It consists of four parts, all in text.
- A number indicating which subtitle it is in the sequence.
- The time that the subtitle should appear on the screen, and then disappear.
- The subtitle itself.
- A blank line indicating the start of a new subtitle.
For the gif at the top of this post, the SRT file consisted of:
1
00:00:00,000 --> 00:00:08,000
Making the magic happen.
If we were captioning a vide of someone dancing the hokey pokey it would look like:
1
00:00:00,000 --> 00:00:05,000
You put your right foot in.

2
00:00:05,000 --> 00:00:10,000
You take your right foot out.

3
00:00:10,000 --> 00:00:15,000
You put your right foot in.

4
00:00:15,000 --> 00:00:20,000
And you shake it all about.
All your captions are now in a very simple (if verbose) text file format!
Converting your files
To create the gif at the start of this post I had two different files.
ffmpeg_example.mov- From a quicktime screen recordingffmpeg_example.srt- My caption text file
With ffmpeg installed, that’s all you need to make a captioned gif!
ffmpeg -i ffmpeg_example.mov -vf subtitles=ffmpeg_example.srt -r 10 ffmpeg_example.gifLet’s break down the arguments.
-i ffmpeg_example.mov- The input to ffmpeg.-vf subtitles=ffmpeg_example.srt- Run a video filter (vf) over the input, this one being the subtitles filter with the file containing the subtitle information.-r 10- Set the frame rate to 10 to reduce the overall size.ffmpeg_example.gif- The resulting output file.
That’s it! Go and make all the gifs!
